Take Time For Tools with Adam Kirtland
- Adam

- Jul 8, 2025
- 3 min read

“There’s something oddly satisfying about seeing your tools looking sharp and shiny again
Every year, I find myself in the shed staring at my secateurs and wondering how they got quite so grubby. And while the idea of giving them a proper clean might seem like a bit of a faff, it’s actually way easier than you’d think - and pretty satisfying, too. No fancy gadgets needed. Just a few bits you probably already have lying around.
Clean Snips: Showing Your Secateurs Some Love

Let’s start with the secateurs. If yours are a decent pair, chances are they come apart fairly easily. Usually, there’s just a single bolt holding them together, and a quick go with some pliers will split them into two main pieces. If you feel confident, take them apart so you can get right into the corners. If not, no worries - you can still do a solid clean without dismantling them.

First up, give them a once-over with a soft brush or an old toothbrush to flick away any caked-on soil or dried plant gunk. Then, hit the rusty areas with a spritz of WD-40 and leave it to sit for a few minutes. Once it’s soaked in a bit, gently rub at the rust using some fine wire wool. You might need to repeat this once or twice depending on how neglected they’ve been - mine are often in a sorry state, so you’re not alone.

If your secateurs have wooden handles, give them a light coat of oil and rub them down with a cloth. It helps prevent cracking and gives the handles a nice bit of shine and protection for the months ahead.

The Sand Bucket Trick: Your New Favourite Hack
Once your secateurs are gleaming again, it’s time to turn to the rest of your hand tools - trowels, forks, dibbers, all the usual suspects. Give them a brush or a quick wash and dry if needed. Then it’s onto the next part: the sand bucket trick.
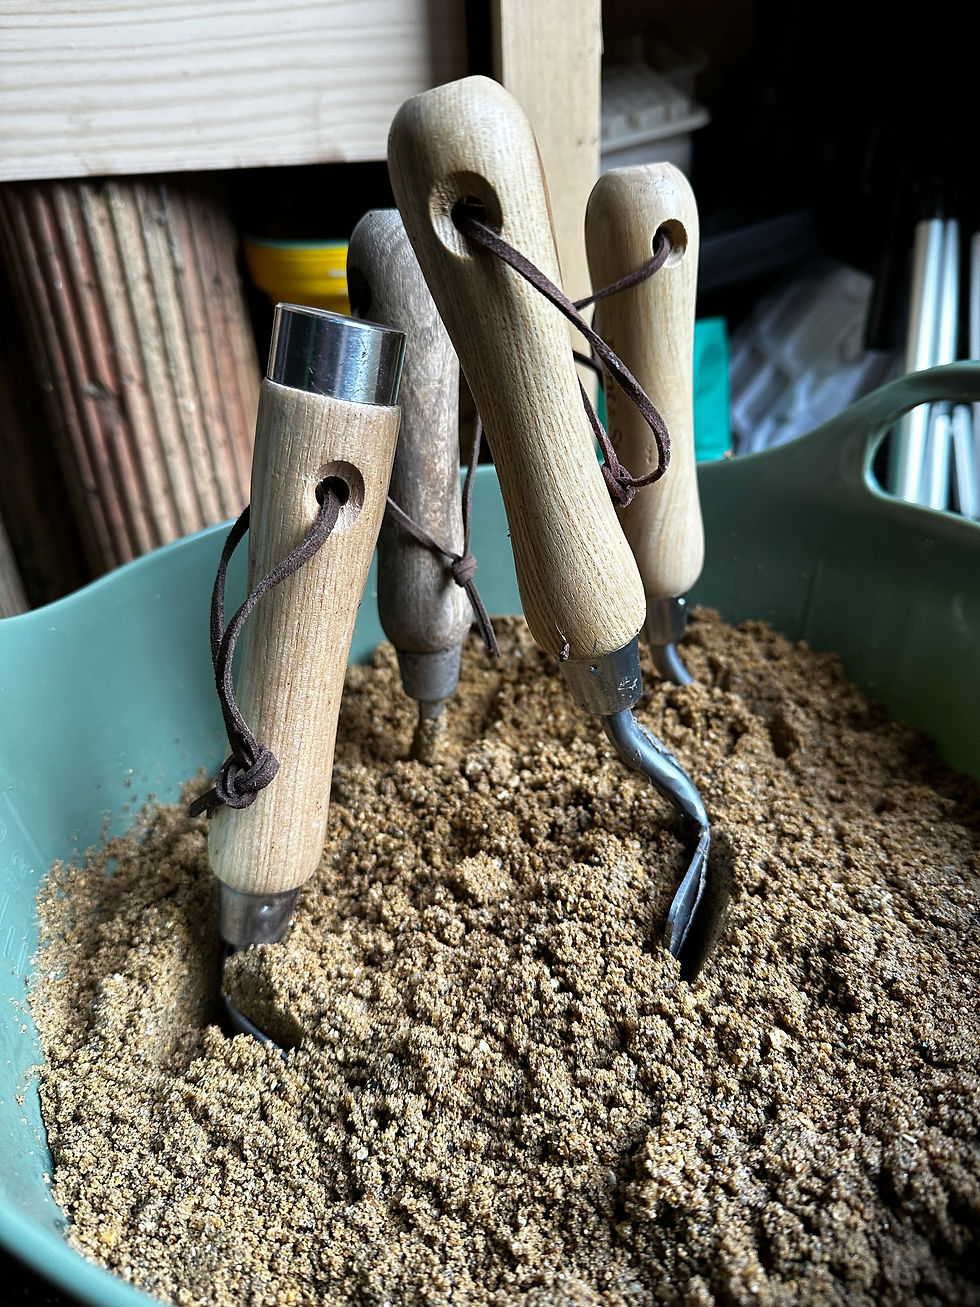
You’ll need a bucket, some coarse builder’s sand, and a bottle of food-safe mineral oil (which you can find in most DIY shops or online). Start by adding a layer of sand to the bucket, followed by a light drizzle of oil - just enough to coat the top of the sand. Let that soak in a little, then repeat the layers until your bucket is nearly full. Go easy on the oil, though - you don’t want it pooling at the bottom.

To clean your tools, simply stab them into the sand and give them a few twists and turns. The gritty sand scrubs away the dirt and rust, while the oil gives a protective coat to help prevent future corrosion. When you’re done, wipe off any excess with an old cloth.
If you like, you can store your tools in the sand between uses. It keeps them clean, rust-free, and ready to grab whenever you need them.
Job Done (and Doesn’t It Feel Good?)
A bit of care now means your tools will work better and last longer - plus, there’s something oddly satisfying about seeing them looking sharp and shiny again.
**Some links featured may generate commission for our writers


